INSPECT 3D Precision Imaging System
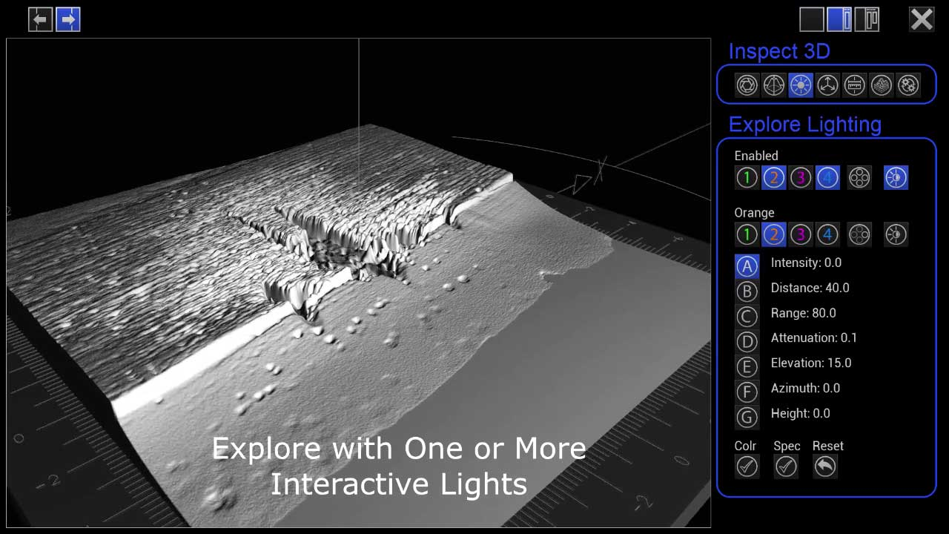
INSPECT 3D provides for the visual exploration of a virtual 3D surface using an interactive virtual 3D camera. This can be manipulated either local to a specific surface feature or globally. Local inspection is provided by interactive exploration relative to a specific virtual Location of Interest (LoI). By default, the INSPECT 3D provides for seven LoI, all of which are automatically located on the 3D surface. Each LoI is displayed with its own local axis and can be individually moved anywhere on the 3D surface.
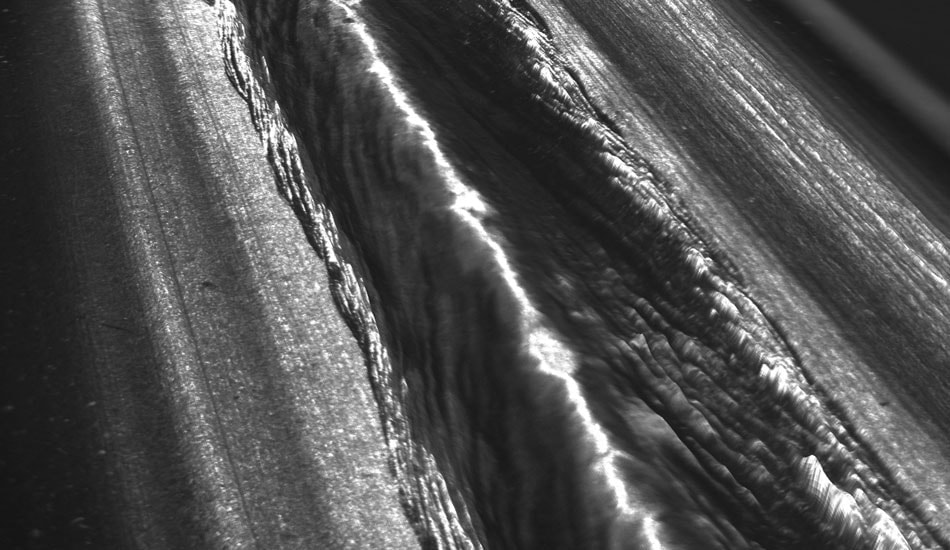
The INSPECT 3D application software leverages the graphical and computational powers of state-of-the-art real-time GPU based 3D computing. Real-time, high resolution, high quadrilateral count, 3D solid surface textured rendering. 3D visualisation of corroded surfaces, using 3D virtual camera exploration and configurable dynamic illumination.
System includes:
- Single or continuous 3D surface acquisition and local or network archiving
- Fully configured and pre-loaded high-performance Windows 10 PC
- Integrated sensor and illuminators
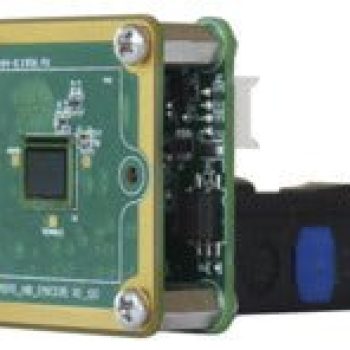
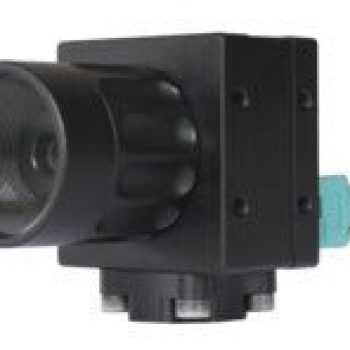
- Rugged IP rated camera
Key Information:
- 12 to 40 MP colour or monochrome sensors, and/or 5 MP polarising sensor
- High-speed USB 3.1
- Progressively acquire data from a laser line scanning camera
- Touchscreen viewing and control
Features & Benefits:
- Captures ultra-wide area of inspection
- Portable and easy to deploy
- Cost effective system that saves time and money by enabling real time inspection
Datasheets:
The Challenge
It is important to have the right tools for the job – for 3D real-time surface reconstruction and inspection this includes acquiring spatially accurate and information rich imaging. Such an inspection system must also be able to provide imaging for 2D & 3D analytics and metrology, and manage rich meta tag image archiving, remote access, and monitoring.
The Solution
INSPECT 3D is a non-contact, high resolution digital imagining inspection and measurement system. It is portable, single operator, and works in real time.
Acquisition
Using the Observant Aperture Imaging Workbench provides for 3D surface acquisition using either a machine vision camera or by progressively acquired data from a laser line scanning system. The speed of the acquisition process is dependent on factors such as resolution and surface complexity. Typically, a 3D surface can be acquired in less than a minute. 3D surface data can be archived and retrieved for later examination, metrology, and analysis.
Exploration
Once prepared for 3D display – an almost instantaneous process – the 3D surface can be explored and interactively lit using a virtual multi-illuminator rig. This provides for control by each virtual illuminator of colour, location, azimuth, elevation, and distance. All illuminator properties can be “slaved” to a single “master” illuminator, this also provides for the illuminators singularly or collectively to be rotated around the 3D surface area being examined. There is also a virtual ambient illuminator.
The virtual 3D surface is displayed within an auto calibrated 3D inspection area, with both local and global axes. This inspection area includes virtual directional and alignment graphics for each illuminator.
Metrology
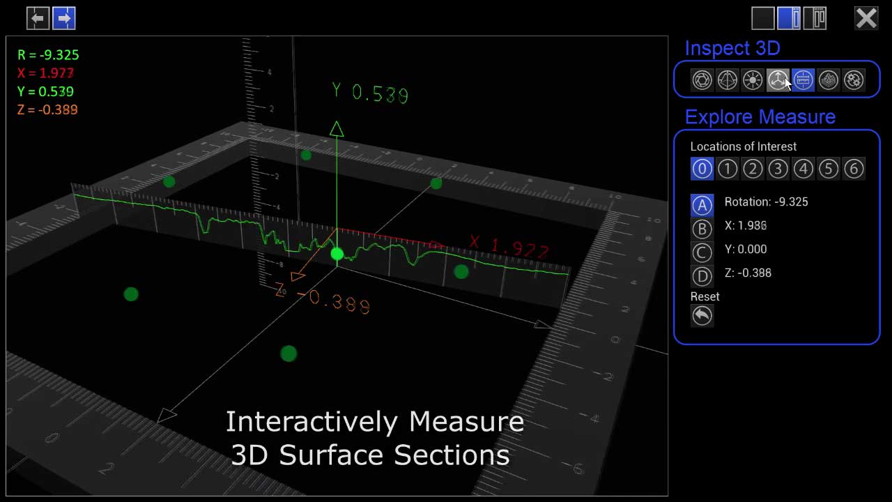
Metrology is provided by displaying virtual 3D digital rulers located relative to each Location of Interest (LoI). These include the display of a virtual 3D cross section of the entire 3D surface, which is updated in real-time as a LoI is rotated and moved. Metrology tools include the facility for integrating the locations and cross sections of one or more of the LoI to provide for the computation of 3D surface data such as weld profile statistics and scratch depth and orientation. Observant is currently developing 3D surface feature-based detection. The LoI, the entire virtual 3D inspection area, multi-illuminators, and camera are provided with an easy-to-use animation tool set.

